
How to Crochet a Spider (and Web)
Crochet a spider in five pictured steps: body, eight matched legs, eyes, flat web, then sew the pair together for hanging.
A crochet spider fails for one of two reasons: the body is a featureless blob, or the legs are all different lengths. The stitches are not hard. The proportions are.
Comfort with magic rings and spirals is expected. Legs take patience more than new stitches.
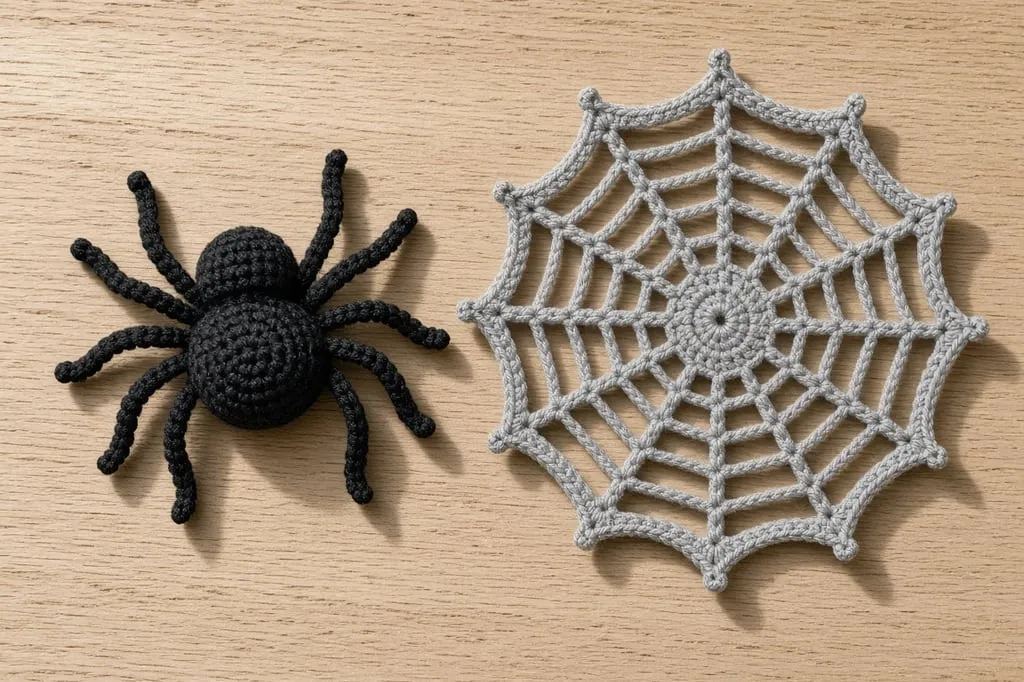
What you need
- Black or dark brown worsted yarn for the spider; white or gray for the web
- Matching hook (hook size chart); yarn weights
- Stuffing (spider body only)
- Yarn needle, stitch markers
- Optional: tiny bit of red or white for eyes
Abbreviations: chart.
Step 1: crochet the body
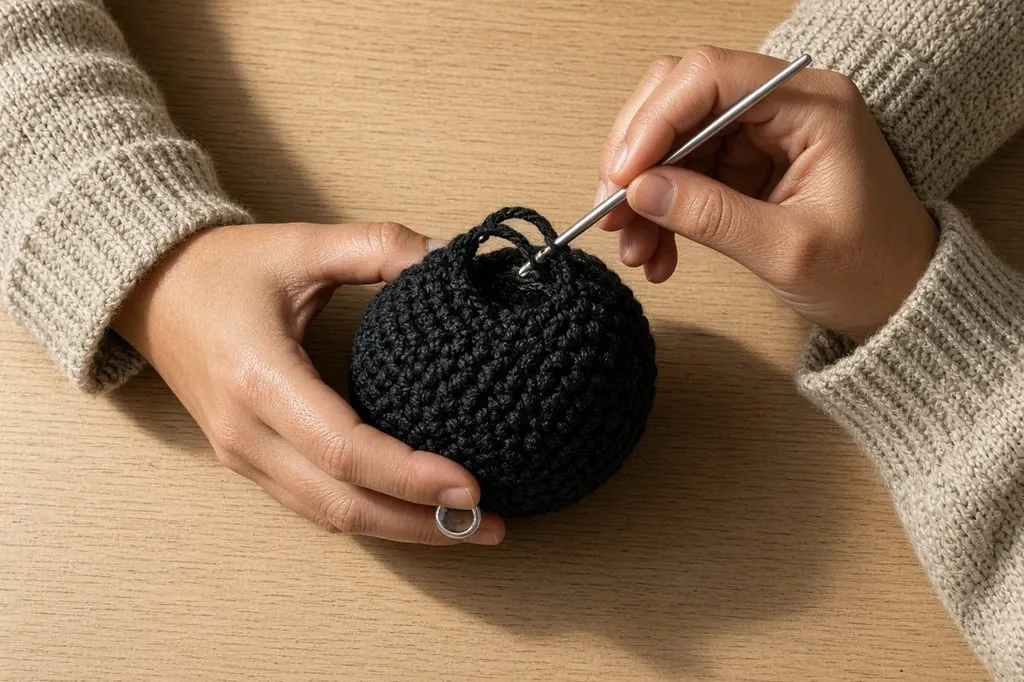
Make one sphere (stronger for a soft toy) or two flat circles sewn together (flatter for a brooch).
Sphere version (brief).
Rnd 1. Magic ring, 6 sc.
Rnd 2. Inc around. (12)
Rnd 3. *Sc, inc; repeat from * around. (18)
Rnd 4. *Sc in next 2, inc; repeat from * around. (24)
Work 2–3 rounds even. Decrease symmetrically back to 6, stuffing firmly before closing.
For a two-part body, make a second, smaller sphere (stop increasing at 18) and sew it to the front of the larger one as a head.
Step 2: make eight legs in pairs
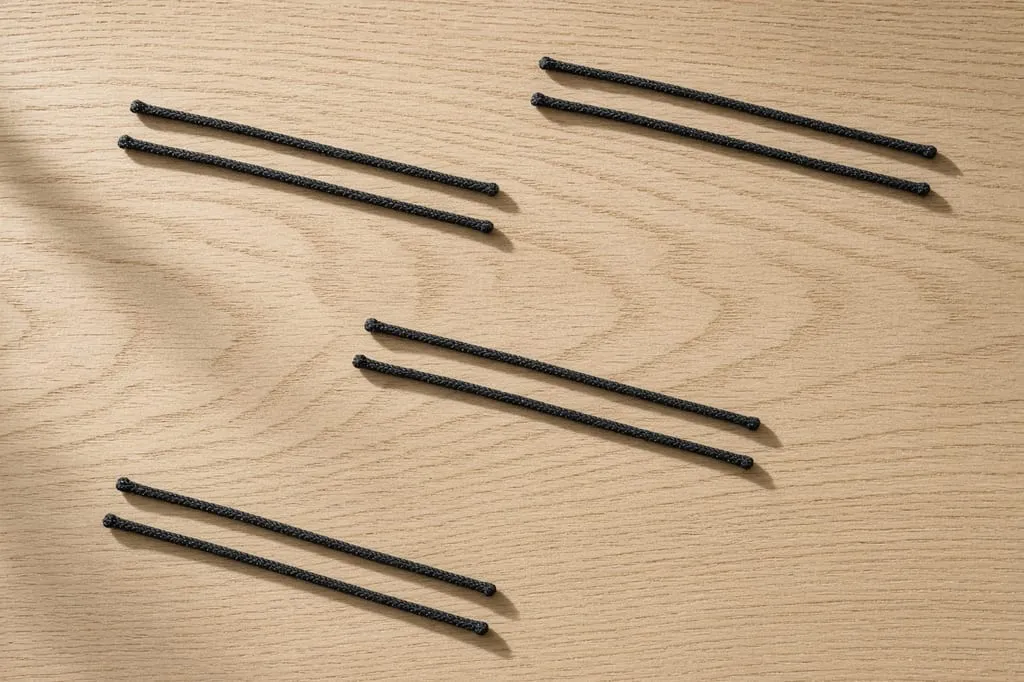
Spiders have eight legs, attached in two rows of four along the sides — not radiating like a starfish.
Fast legs (chains). For each leg: join yarn at the side of the body, ch 12–16, slip stitch back along the chain, fasten off and weave into the body. Keep every chain the same count.
Sturdier legs (tubes). Magic ring 4 sc, work even for 8–12 rounds, fasten off with a long tail, sew on. Hollow tubes bend better than stuffed ones at this size.
Pin or baste all eight positions first. From above: four legs left, four right, clustered toward the front half of the abdomen.
Attach legs before you embroider a face you love. Sewing eight legs means a lot of needle traffic through the body.
Step 3: add the eyes
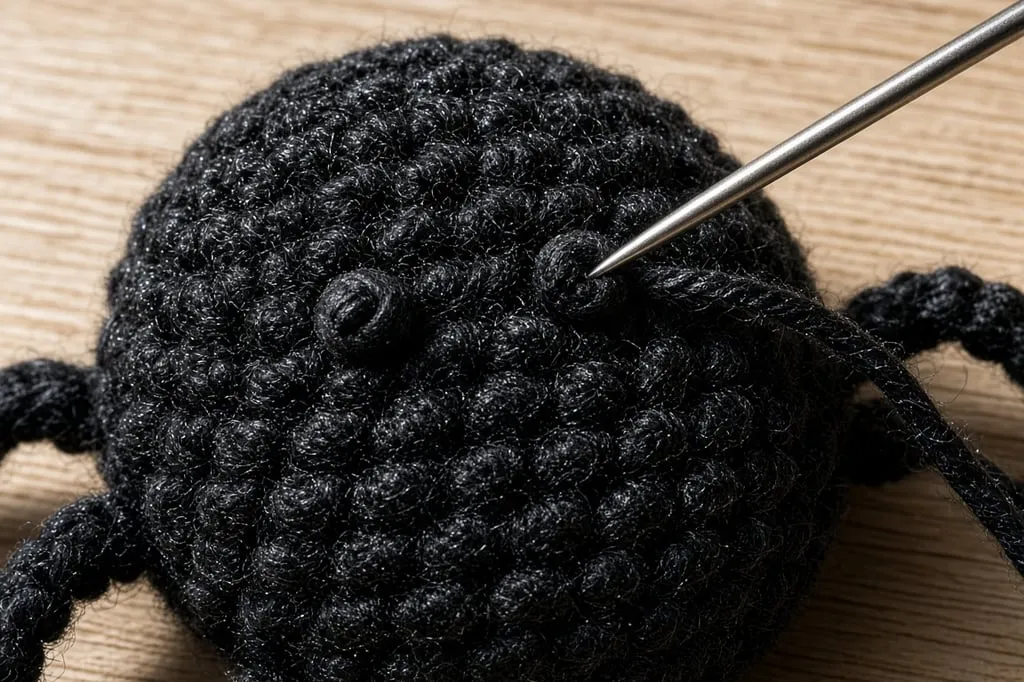
Two small French knots or satin-stitch dots near the front of the head section are enough. Real spiders have more eyes; crochet spiders look wrong when you embroider all of them unless you are going for scientific accuracy on a large model.
Step 4: crochet the flat web
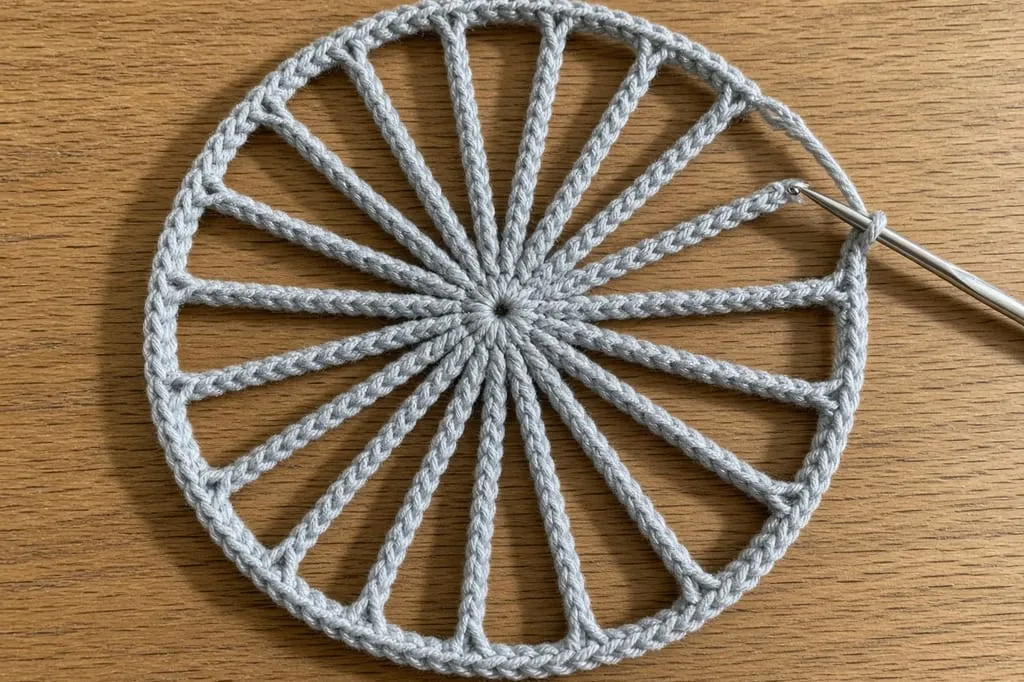
Center. Magic ring, 8 sc, join. Or ch 4, join into a ring, 8 sc into ring.
Round of spokes. *Ch 5, sl st in next sc; repeat from * around. (8 loops)
Next round. Into each ch-5 loop work: sc, hdc, dc, hdc, sc (or ch 6, sl st into next loop). Build outward with longer chains each round until the web is the diameter you want.
Optional radial threads. With a yarn needle, run straight lines from the outer edge to the center and tack them at each ring.
Block lightly if the chains curl — same idea as in blocking basics.
Step 5: sew the spider to the web
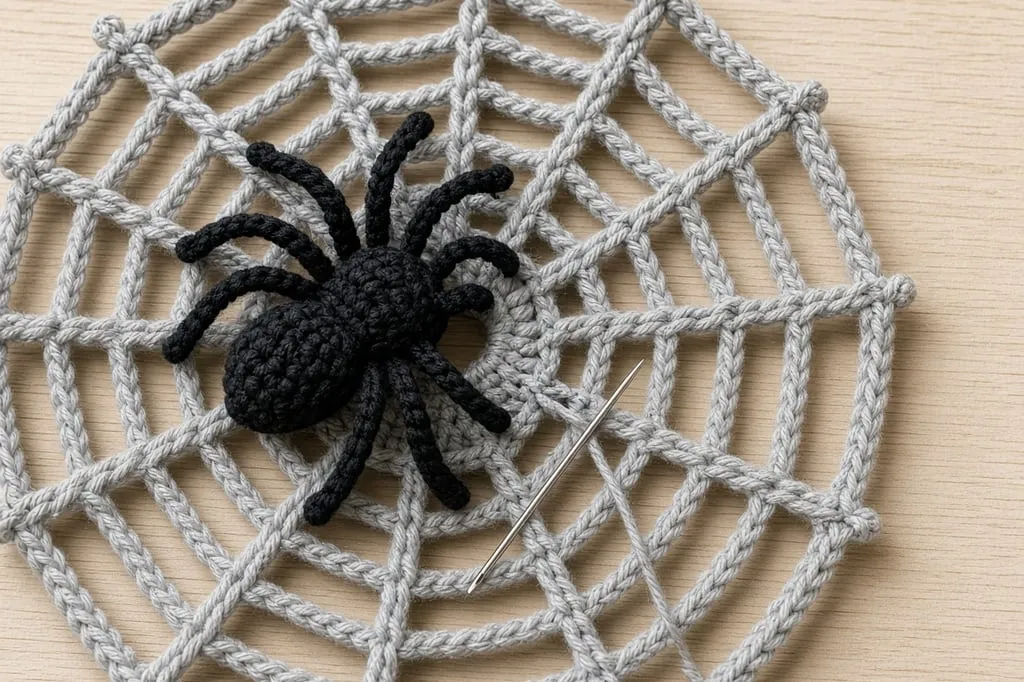
Sew the spider slightly off-center on the web. Add a hanging loop at the top of the web only; do not hang from a leg.
You can skip this step and use the spider alone as a toy or appliqué.
Mistakes that read as “not a spider”
Legs of mixed lengths. Count chains. Write the number down.
Body under-stuffed. Floppy abdomen makes the legs look wrong.
Web worked too tight. Chain spaces should be loose.
Using fluffy yarn for legs. Novelty yarn sheds and hides structure.
Frequently asked
Is this beginner-friendly?
The body is beginner work. Eight identical legs push it to intermediate because consistency is the skill.
Can I skip the web?
Yes. The spider stands alone.
What yarn holds a web shape best?
Smooth cotton or cotton-blend worsted blocks crisply.
What to make next
A bat, a ghost, Halloween granny squares, or the Halloween card wallet.
- halloween
- spider
- web
- amigurumi
- intermediate
- how to
Read this next
- Halloween Crochet Card Wallet with Ghost (Easy Flap + Button) Step-by-step Halloween card wallet: measure a real card, crochet one orange rectangle, fold a flap, add a black button, sew on a tiny ghost. Gift-ready and reel-friendly.
- Christmas Granny Square Variations Four color layouts for a classic granny square in Christmas colors, how to join them into a blanket or set, and why red and green so often turn muddy.
- Crochet Santa Amigurumi for Beginners Build a Santa from one continuous body, then add the hat, beard and belt. Includes safe eye choices for children and the fixes for a lopsided face.