
Crochet Ghost Amigurumi for Beginners
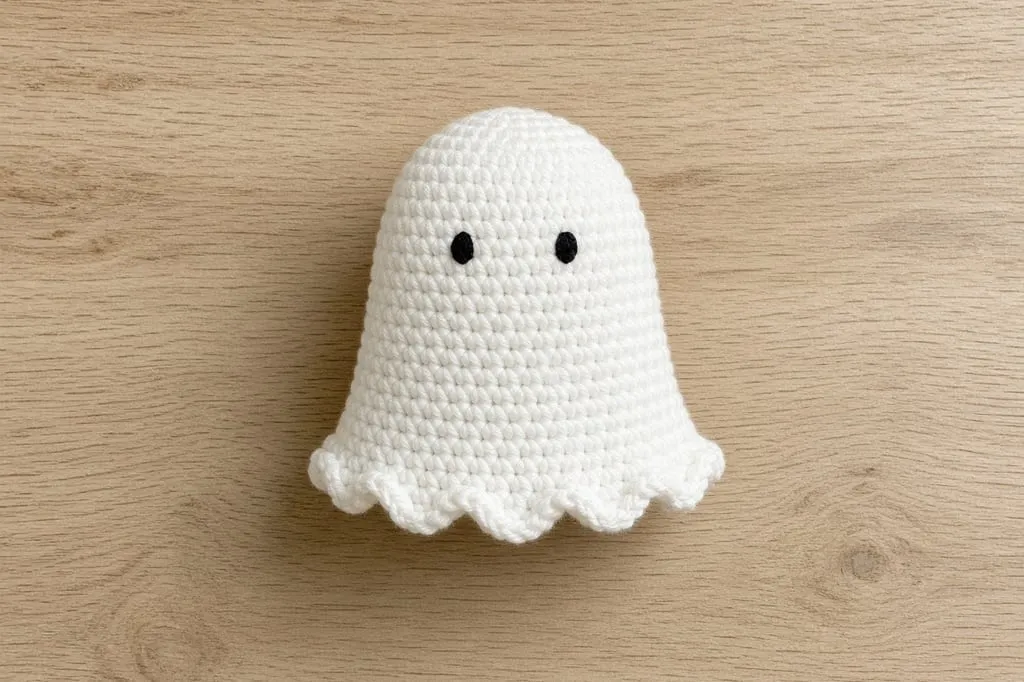
Make a beginner ghost in four pictured steps: dome body, wavy hem, embroidered face, and stuffing that keeps it upright.
A crochet ghost is one of the friendliest Halloween projects because the silhouette is forgiving. You are not chasing perfect spheres or tiny ears. You need a soft bell shape, a hem that looks a little ragged on purpose, and a face that reads from across the room.
If magic rings still feel shaky, skim crochet in the round first. This page assumes you can work continuous rounds of single crochet.
What you need
- White (or cream) worsted-weight yarn — yarn weight chart
- Small amount of black yarn or embroidery floss for the face
- Hook that matches the yarn (hook size chart)
- Stuffing
- Yarn needle and stitch marker
US abbreviations: see the abbreviations chart.
Step 1: crochet the head and body
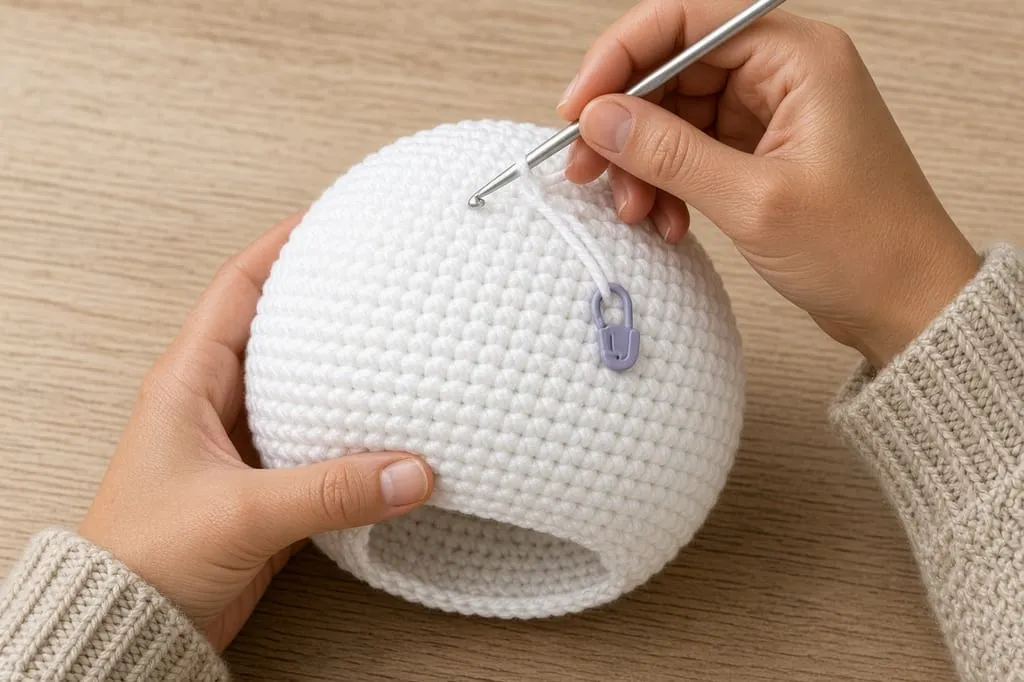
Start at the top of the head and work downward.
Rnd 1. Magic ring, 6 sc. (6)
Rnd 2. 2 sc in each st. (12)
Rnd 3. *Sc, 2 sc in next st; repeat from * around. (18)
Rnd 4. *Sc in next 2 sts, 2 sc in next st; repeat from * around. (24)
Rnd 5. *Sc in next 3 sts, 2 sc in next st; repeat from * around. (30)
Work even on 30 stitches until the piece is tall enough that the head-and-body reads as one continuous ghost — usually about the diameter of the widest round, or a bit taller for a lankier ghost.
Mark the face height early. The eyes sit roughly one-third of the way down from the top. A scrap of contrasting yarn through a stitch saves you from embroidering too low after stuffing.
Step 2: add the wavy hem
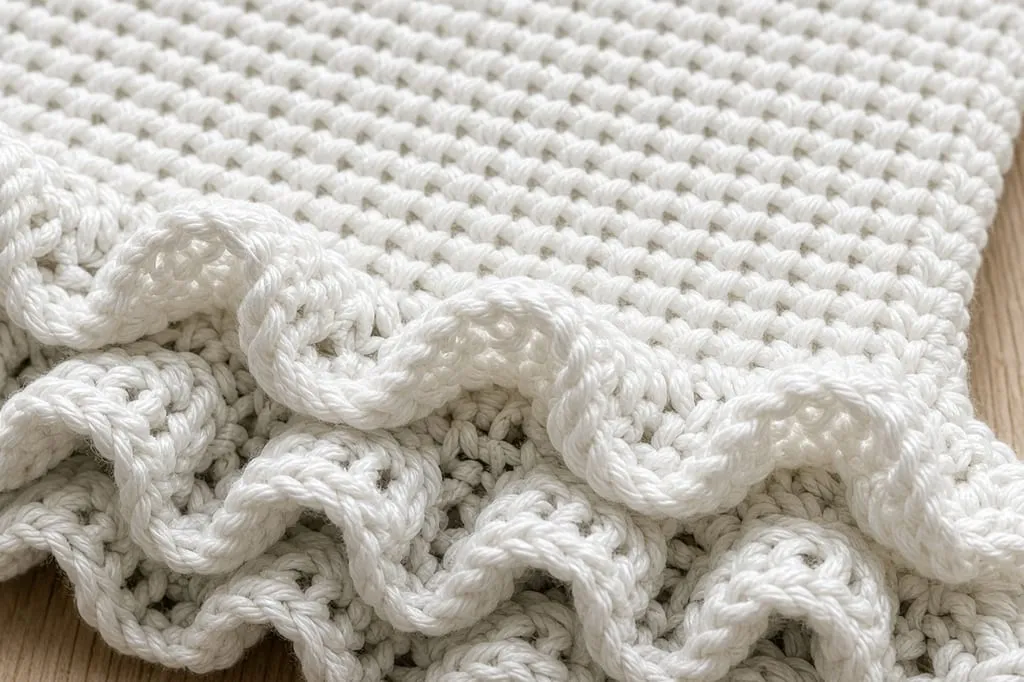
For a closed toy, decrease back down, stuff as you go, and finish. For the classic open ghost:
Flare round. *Sc in next 4 sts, 2 sc in next st; repeat from * around (add about six increases once).
Next round. Sc around.
Edging option A — scallops. Sc, hdc, dc, hdc, sc in next 5 sts around. Adjust by eye for a soft wave, not a doily.
Edging option B — simple picots. *Sc in next 3 sts, ch 2, sl st in second ch from hook; repeat from * around.
Fasten off and weave ends.
Step 3: embroider the face
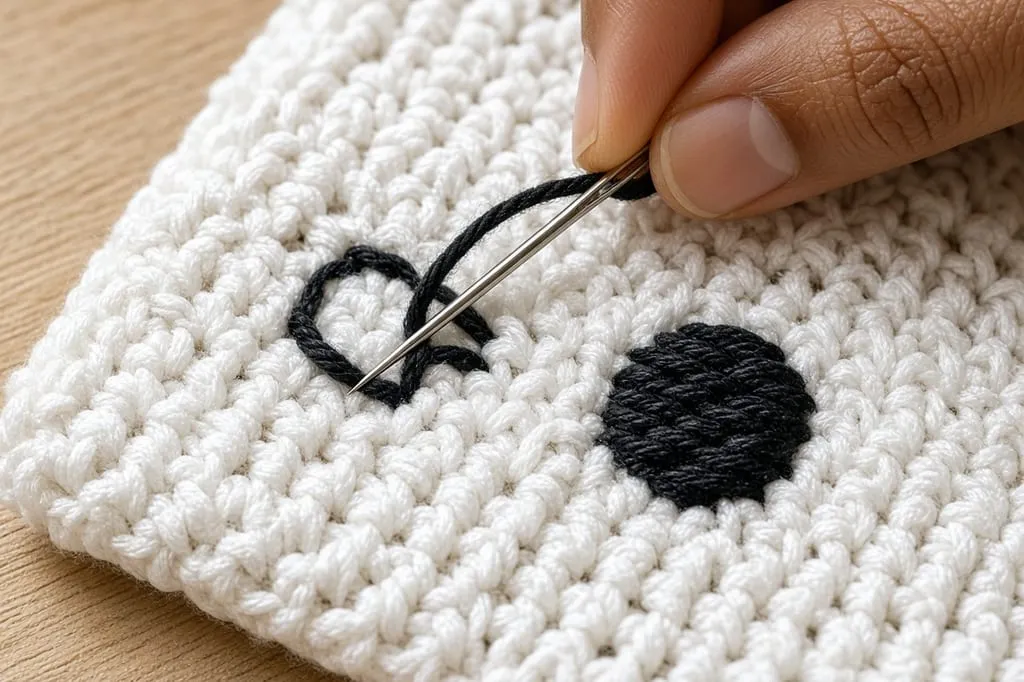
With black yarn or floss, embroider two small oval or round eyes using satin stitch or French knots. A tiny curved mouth is optional; many ghosts look better with eyes only.
Do the embroidery before the piece is fully closed if you are making a sealed toy. On an open ghost, weave ends into the stuffing cavity.
Avoid glued-on plastic eyes for anything a child might chew.
Step 4: stuff so it stands
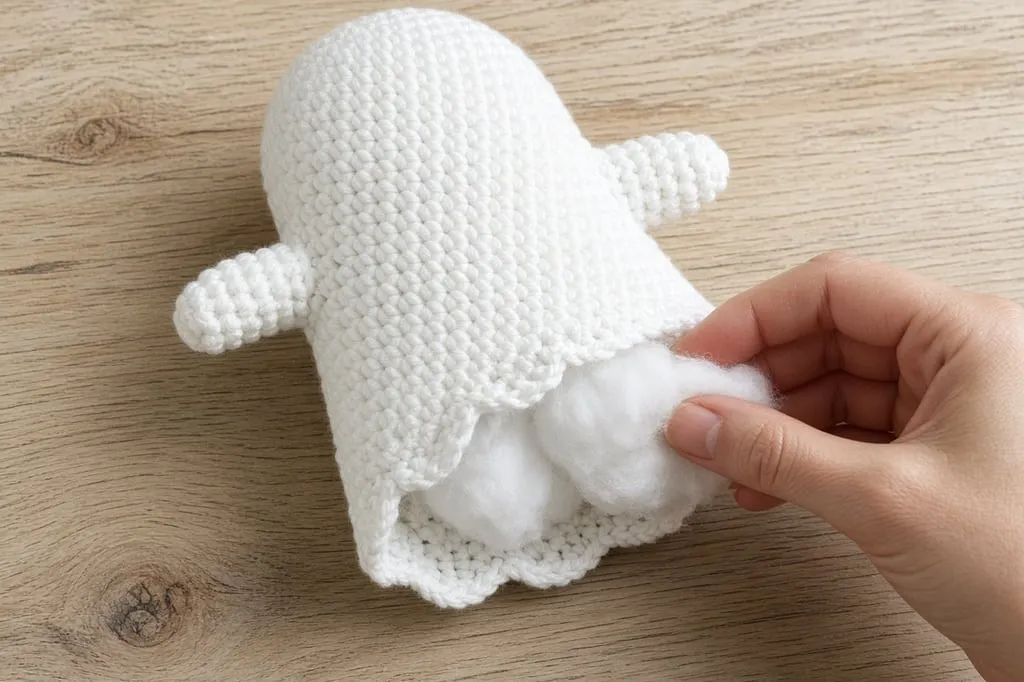
Stuff the upper two-thirds firmly and leave the hem freer so it drapes.
A tall thin ghost with soft stuffing tips over. Three fixes:
- Stuff the base of the head and upper body denser than the hem.
- Drop a small sealed pouch of rice or poly pellets into the bottom before finishing (shelf décor only, not for babies).
- Widen the increase section so the ghost has a broader footprint.
Mistakes worth avoiding
Eyes too low. Once the hem flares, low eyes look wrong. Place them high.
Hem increases every round. One flare round is usually enough.
Black yarn thicker than the body yarn for the face. Use floss or a thinner scrap.
Skipping the marker on a spiral. Losing the round start shows as a diagonal wobble.
Frequently asked
Can I work this in joined rounds instead of a spiral?
Yes. Join and chain 1 at the end of each round if you prefer a clear seam.
What yarn color besides white?
Gray, pale blue, or glow-in-the-dark acrylic all work. High-contrast embroidery still matters.
How do I hang it?
Thread a yarn loop through the top before closing, or sew a loop to the magic-ring center. Reinforce with a second pass.
What to make next
A pumpkin, a spider, Halloween granny squares, or the reel-friendly Halloween card wallet.
- halloween
- ghost
- amigurumi
- embroidery
- beginner
- how to
Read this next
- Halloween Crochet Card Wallet with Ghost (Easy Flap + Button) Step-by-step Halloween card wallet: measure a real card, crochet one orange rectangle, fold a flap, add a black button, sew on a tiny ghost. Gift-ready and reel-friendly.
- Christmas Granny Square Variations Four color layouts for a classic granny square in Christmas colors, how to join them into a blanket or set, and why red and green so often turn muddy.
- Crochet Santa Amigurumi for Beginners Build a Santa from one continuous body, then add the hat, beard and belt. Includes safe eye choices for children and the fixes for a lopsided face.